

A family emergency plan answers three questions before you ever need the answers: how will we contact each other, where will we meet, and what will we do? Most guides hand you a checklist and call it done. This guide goes further — it walks you through the actual family conversation, helps you write the plan on one page, and shows you how to practice it so everyone remembers when it counts.
Important: An emergency plan is preparation, not a substitute for professional help. In a real emergency, always follow instructions from local authorities and call 911. If you’re told to evacuate, go — never stay behind to protect property.
Step 1: Gather the Right Supplies for the Conversation
Set aside 30–45 minutes when everyone is home. Bring:

- A printed blank sheet or notebook (you’ll write the plan on paper — phones die and networks fail)
- A phone to photograph important documents as you go
- A list of each family member’s phone numbers, plus your doctor, vet, and insurance agent
Frame it positively for kids: “We’re making a family teamwork plan so we always know how to find each other.” Calm adults make calm kids.
Step 2: Map Out Where Everyone Spends Their Time
Emergencies rarely strike when everyone’s home. Write down, for each family member:
- Work or school name, address, and phone number
- The usual daily schedule (so you know where someone probably is)
- Each person’s emergency contact at that location
Also note each location’s own emergency procedures — where does the school evacuate students? How will the school contact you? A babysitter information sheet is the perfect place to record this for anyone caring for your kids.
Step 3: Choose Your Emergency Contacts
Pick two:
- A local contact — someone nearby who can reach your home quickly (a neighbor, relative, or close friend).
- An out-of-town contact — a friend or relative in another city or state. After a disaster, long-distance lines often work when local networks are jammed, so everyone should check in with this person to report where they are.
Make sure every family member — including kids old enough to use a phone — has both numbers saved and written on a paper card carried in a backpack or wallet.
Why texting matters: Texts use less bandwidth and battery than voice calls and often go through when calls won’t. Teach your family: text first, keep it short, save calls for vital information.
Step 4: Pick Two Meeting Places
Choose one for each scenario:
| Scenario | Meeting place |
|---|---|
| Sudden emergency at home (fire, gas leak) | Right outside your home — a specific spot, like the big oak tree or the mailbox across the street |
| Can’t return home (evacuation, damage) | Outside your neighborhood — a park, library, or friend’s house everyone knows; note the address |
Save the meeting spots in your phone’s map app, and for younger kids, take a photo of each place so they can recognize it.
Step 5: Plan for Two Outcomes — Shelter or Evacuate
Different emergencies demand opposite actions. Decide in advance how you’ll handle each:
Shelter at home (storm, power outage, air-quality alert):
– Where’s the safest room? (Interior room, no windows, for tornadoes; high ground level for floods — pick based on your area’s risks.)
– Where are the water, gas, and electricity shutoffs? Show every adult and teen how and when to turn them off.
– Where’s the fire extinguisher, and who knows how to use it?
Evacuate (fire, flood, mandatory order):
– Two escape routes from every room — practice them.
– Where does everyone go? (Your out-of-neighborhood meeting place.)
– What does each person grab? Keep it to a “go-bag” per person: documents, medications, phone charger, water, snack, change of clothes.
Walk the escape routes together. A plan nobody has walked is just paper.
Step 6: Write It All on One Page
Condense everything into a single page posted somewhere central — the fridge or your family command board — and give every adult a photo of it on their phone. Your one-page plan should include:
- Family member names and phone numbers
- The two emergency contacts (local + out-of-town)
- The two meeting places with addresses
- The evacuation escape routes (a simple sketch works)
- Locations of utility shutoffs, fire extinguisher, and go-bags
- Doctor, vet, and insurance policy numbers
Also photograph (never carry originals in a go-bag): IDs, insurance cards, prescriptions, and medical information. Store copies with your out-of-town contact too.
Privacy note: Your emergency plan contains sensitive personal details. Don’t post it on social media or share it beyond people who need it.
Step 7: Assign Roles and Include Everyone’s Needs
Give each person a job — responsibility makes people act instead of freeze:
- Adults: grab go-bags, shut off utilities if needed, account for each child
- Older kids/teens: help younger siblings, call the out-of-town contact
- Young kids: their job is simple — get to the meeting spot and stay there
Plan for special needs: medications and medical equipment, mobility limitations, dietary needs, and pets — know in advance which shelters or hotels accept animals, since emergency shelters often can’t take pets. Include your vet’s number in the plan.
Step 8: Practice Twice a Year
A plan you never rehearse won’t survive contact with panic. Twice a year:
- Walk the escape routes — including the backup one, in the dark if you can.
- Quiz the kids on the out-of-town contact’s number and the meeting spots.
- Test your gear — smoke detectors monthly, batteries yearly; rotate stored water and food every 6–12 months.
- Update the plan — new phone numbers, new medications, new school, new pet.
Put the review dates in your family calendar so it actually happens. Tie it to something memorable, like the start and end of daylight saving time.
Frequently Asked Questions
What should go in a basic emergency kit?
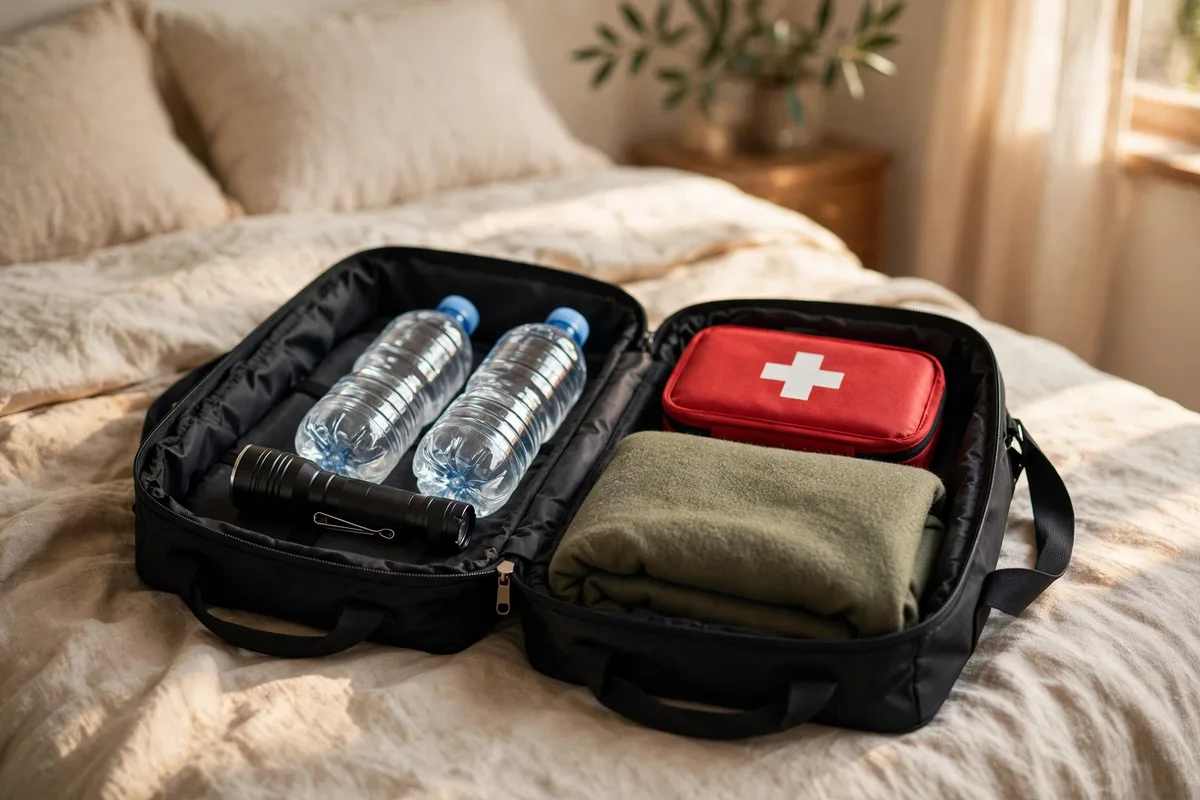
At minimum: a 3-day supply of water (1 gallon per person per day) and non-perishable food, a manual can opener, flashlights with extra batteries, a battery or hand-crank radio, phone chargers, a first-aid kit, medications, and copies of important documents. Add baby supplies, pet food, and comfort items for kids.
How do I explain the plan to young children without scaring them?
Keep it factual and brief: “If there’s ever a fire, we meet at the big tree. That’s our family rule.” Rehearse it like a game. Kids feel less frightened when they know what will happen — and see that you have it handled.
What if family members don’t have cell phones?
Younger kids can carry a laminated contact card, and you can agree on check-in times at the meeting places. A whistle on a backpack also helps a lost child get attention.
Should we really practice? It feels dramatic.
Fire departments and schools drill for a reason: rehearsal turns thinking into instinct. Two short walk-throughs a year is all it takes.
The Bottom Line
A family emergency plan isn’t paperwork — it’s a promise that no matter what happens, everyone knows how to find each other. Gather your people, fill in the blanks together, post the one-page plan where everyone can see it, and practice it twice a year. The half hour you spend this weekend could be the most valuable time your family ever invests.
For authoritative templates and checklists, San Mateo County’s household emergency plan guide and Texas’s step-by-step plan builder are excellent references — both point to the free Family Emergency Plan form from Ready.gov.