Bringing a puppy home is one of the happiest days a family can have — and one of the most hectic. The difference between joyful chaos and pure chaos is about two hours of preparation done the week before. A good new puppy checklist isn’t about buying every gadget on the pet-store shelf; it’s about making sure food, safety, health, and a plan are all in place before those little paws hit your floor.
Why a Checklist Beats a Shopping List
Most new owners run into the same three problems on day one: the puppy eats something it shouldn’t because nobody puppy-proofed, the puppy won’t eat because the food is unfamiliar, and nobody knows who the vet is. A checklist solves the planning, not just the buying — it front-loads the decisions about where the puppy sleeps, who feeds it, and which vet you’ll call, and it keeps you from overbuying gadgets the puppy doesn’t need.
Step 1: Gather the Essentials Before Pickup Day
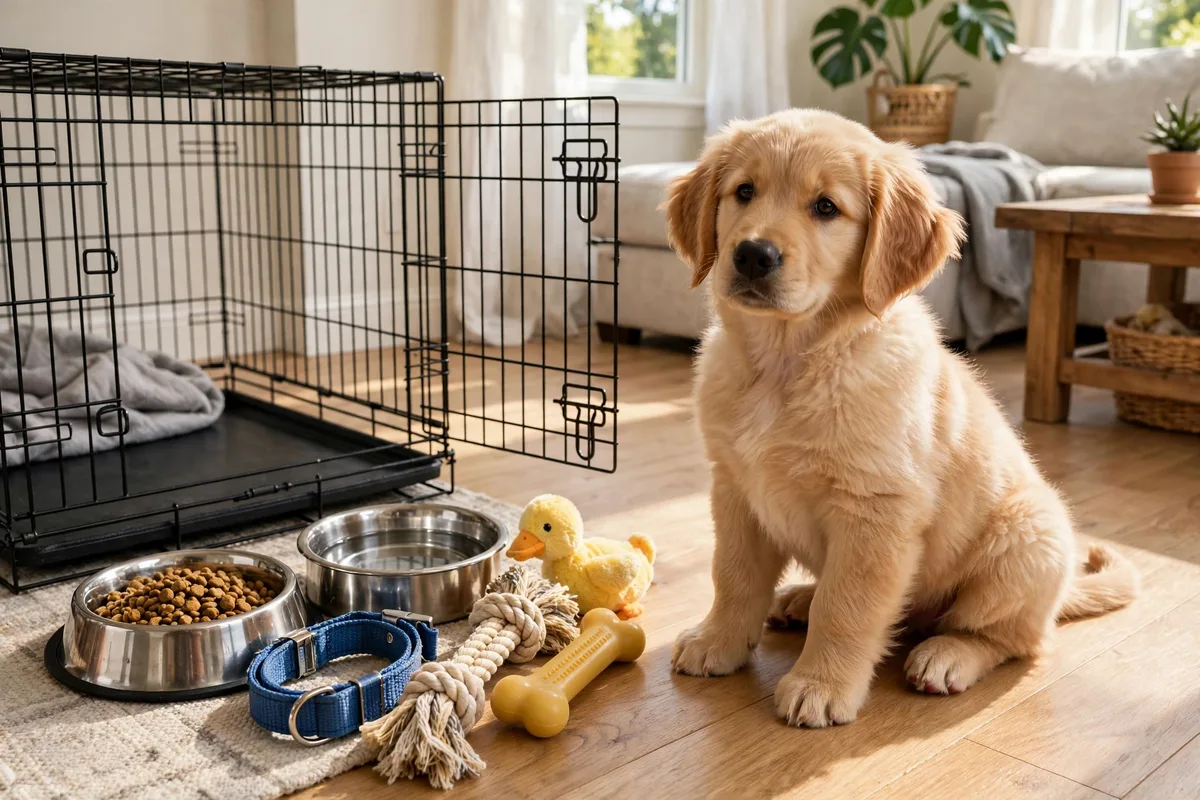
Buy for the puppy’s current size, not the adult it will become — collars, harnesses, and crates will need upsizing in a few months. Here’s the core list:
- Food and water bowls. Stainless steel or heavy ceramic, sized for a puppy. Skip the novelty shapes; they tip.
- The same food the puppy is already eating. Get a small bag of the exact brand from the breeder or shelter, even if you plan to switch later. A sudden food change is a common cause of upset stomachs in week one.
- Training treats. Small, soft, pea-sized treats you can deliver quickly.
- An adjustable collar or harness, a leash, and an ID tag. The tag should have your phone number on it from day one — don’t wait.
- A crate or a cozy bed. A crate gives the puppy a den-like resting spot and helps with housetraining when introduced positively. Size it so the puppy can stand, turn, and lie down — not a full room.
- Safe chew toys. Rope toys, rubber chew toys, and one soft comfort toy cover the bases. Check toys often and toss anything cracked, frayed, or small enough to swallow.
- Poo bags, an enzyme-based cleaner, and paper towels. Regular cleaners leave odor that draws the puppy back to the same spot; enzyme cleaners break it down.
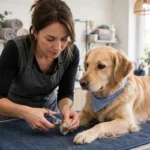
- Grooming basics. A brush or comb suited to the coat, puppy shampoo, and nail clippers.
You can skip the wardrobe, the stroller, and the specialty gadgets for now. Our guide to choosing safe toys for a dog helps you expand the toy box wisely once you know what your puppy actually likes.
Step 2: Puppy-Proof Your Home
Get on your hands and knees and look at your house from puppy height. Puppies investigate with their mouths, so remove temptation before it becomes a vet visit.
- Secure cords and cables. Route them behind furniture or cover them with cord protectors.
- Move medicines, cleaning products, and small objects out of reach. Anything that fits in a mouth is a target: socks, hair ties, children’s toys.
- Block off restricted areas. Baby gates or closed doors keep the puppy in the safe zone. Gate the stairs until the puppy can navigate them confidently.
- Check the yard. Walk the fence line for gaps, remove toxic plants, and clear sharp tools or chemicals from the garage.
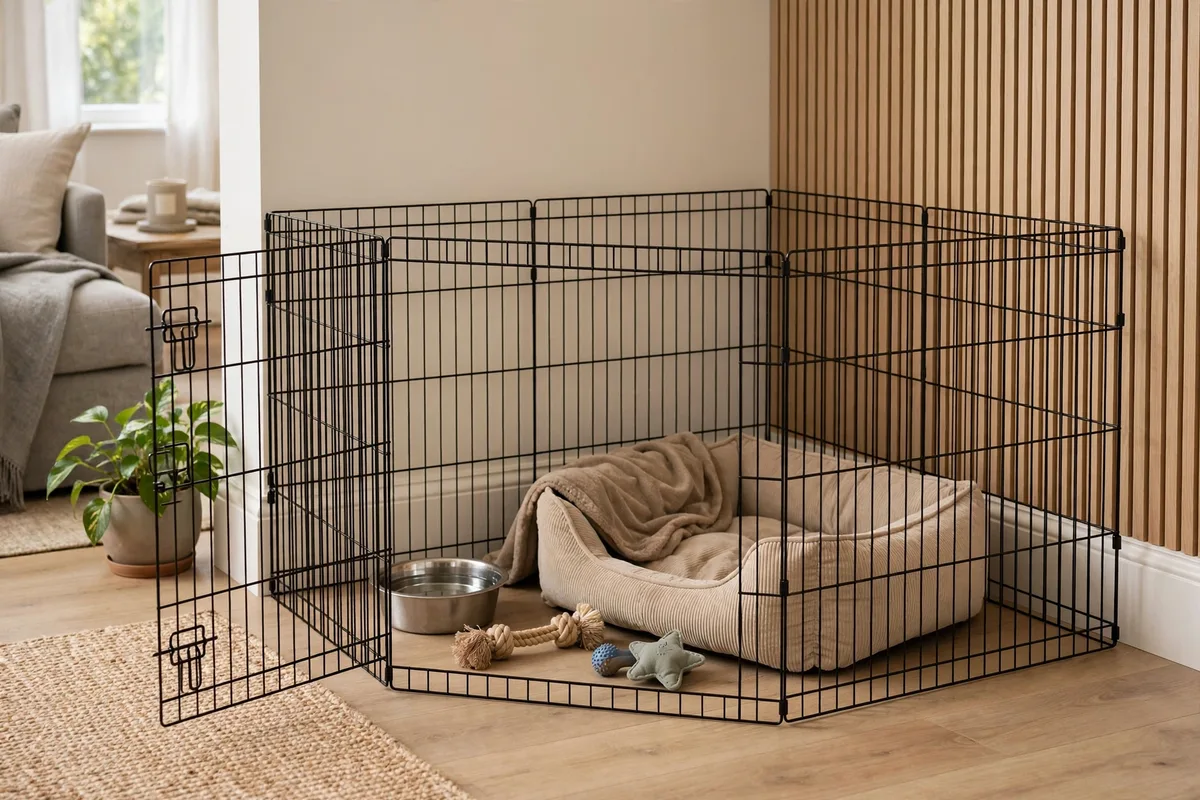
- Set up a confinement area. A corner of the kitchen with the crate, water, and toys gives the puppy a safe zone when you can’t supervise directly.
Step 3: Line Up the Vet and Health Plan
Schedule the first vet visit before the puppy arrives, ideally within the first two to three days home. Bring every record you received — vaccination history, deworming dates, and microchip paperwork — so the vet can plan the next steps.
Also worth doing this week:
- Locate your nearest 24-hour emergency clinic and save the number in your phone. Emergencies don’t check office hours.
- Ask about parasite prevention. Flea, tick, and heartworm prevention is a year-round concern in most of the US; your vet will recommend a schedule based on your area and the puppy’s age.
- Confirm the microchip. If the puppy is chipped, make sure the registration is transferred to your name and contact info. A chip with the breeder’s old phone number helps no one.
- Discuss spay/neuter timing. Opinions vary by breed and size; your vet will advise when it’s appropriate.
Keeping the paperwork organized from the start saves headaches later — our guide to keeping pet records organized walks through a simple system.
Step 4: Get the Puppy’s Records and Routine From the Source
This step happens before pickup and costs nothing, but it pays off more than almost any purchase. Ask for the exact food and meal times, the puppy’s normal sleeping arrangement, the current potty routine, vaccination and deworming records, and any known fears or quirks.
Ask if you can bring home a small item that carries a familiar scent — a blanket from the litter area, or a toy. A familiar smell in the new crate genuinely helps with the first nights. For the first week, change as little as possible: same food, same feeding times, same bedtime rhythm. There’s plenty of time to build your own routines once the puppy feels safe.
Step 5: Plan the First 24 Hours
The biggest mistake on arrival day is too much excitement. Keep it quiet and simple:
- Take the puppy straight to the potty spot before going inside. A leash, calm praise, and patience.
- Tour the house slowly, one room at a time. Let the puppy sniff and explore the safe zones; skip the off-limits rooms for now.
- Introduce family members calmly. No squealing, no grabbing. Let the puppy come to people. Coach kids beforehand: sit down, stay quiet, let the puppy approach.
- Offer water and a small meal of the familiar food at the usual time. Don’t be alarmed if the puppy barely eats on day one — stress kills appetite.
- Start crate or bed time early in the evening. Place the crate in your bedroom for the first few nights so the puppy knows you’re nearby. A warm water bottle wrapped in a towel can mimic littermate comfort.
Hold off on introducing other pets, neighborhood dogs, or a parade of visitors for the first couple of days. The puppy needs to bond with the household first. And a realistic note: the first two or three nights often involve crying. That’s normal. Comfort calmly, keep potty trips brief and boring (no play at 3 a.m.), and it passes.
Step 6: Lock In the First-Week Routine
Puppies thrive on predictability. By day three, aim for a rough daily rhythm:
- Feeding: Three meals a day at consistent times. This is the backbone of housetraining, since puppies usually need to go shortly after eating.
- Potty breaks: Out first thing in the morning, after every meal, after naps, after play, and right before bed — roughly every two hours. For a workable daily rhythm, see our guide to making a pet feeding schedule.
- Sleep: Puppies need 18 to 20 hours of sleep a day. Enforce naps — an overtired puppy is a bitey, wild puppy.
- Short training sessions: Two or three five-minute sessions a day beat one long one. Name recognition, sit, and coming when called are plenty for week one.
- Socialization windows: Once the vet clears it, short, positive exposures to new sights, sounds, and gentle people build confidence. Let the puppy retreat if it’s overwhelmed.
One rule for the whole household: everyone uses the same words, the same rules, and the same consequences. If the puppy is allowed on the couch, it’s allowed. If not, nobody invites it up “just this once.” Consistency is the entire training program.
Variations: Breeder Puppy vs. Shelter Puppy
Puppy from a breeder
You’ll usually get detailed records, a known birthdate, and a puppy already on a schedule. The main job is continuity — keep what works and adjust slowly. Ask the breeder for their socialization notes: what the puppy has already experienced (car rides, children, other dogs) tells you what to build on next.
Puppy from a shelter or rescue
Records may be incomplete, and the exact age might be an estimate. Book the vet visit even sooner — a thorough baseline exam matters more when the history is thin. Shelter puppies may also need extra decompression time: roughly three days to decompress, three weeks to settle into routine, and three months to feel fully at home. Be patient; the payoff is the same loyal dog.
Troubleshooting Common First-Week Problems
| Problem | What to try |
|---|---|
| Crying in the crate at night | Move the crate to your bedroom; keep lights low and comfort calm and brief; make the crate pleasant during the day with meals and treats inside |
| Accidents in the house | Increase potty-trip frequency, especially after meals and naps; clean with enzyme cleaner; never punish — it teaches the puppy to hide, not to hold it |
| Won’t eat | Offer the familiar food from the source; warm it slightly; keep the area quiet; call the vet if appetite is gone for more than a day |
| Chewing furniture | Increase supervision and safe chew options; use the confinement area when you can’t watch |
| Fear of the leash or collar | Let the puppy wear the collar indoors with treats; keep first leash sessions in the yard, short and fun |
Frequently Asked Questions
How soon should the puppy see a vet?
Within the first two to three days home, sooner if anything seems off — lethargy, vomiting, diarrhea, or refusal to eat. Bring all records from the breeder or shelter so nothing gets repeated or missed.
Should we crate-train?
A crate, introduced positively, gives the puppy a safe resting place and makes housetraining dramatically easier. It should never be used as punishment. If the puppy panics in the crate despite a gradual introduction, talk to your vet or a trainer about alternatives like a playpen.
A Calm Start Beats a Perfect One
You won’t get everything right in week one, and that’s fine. What matters is that the essentials were ready: a safe space, familiar food, a vet appointment, and a household that agreed on the rules before the puppy arrived. Do that, and the chaos stays joyful.