
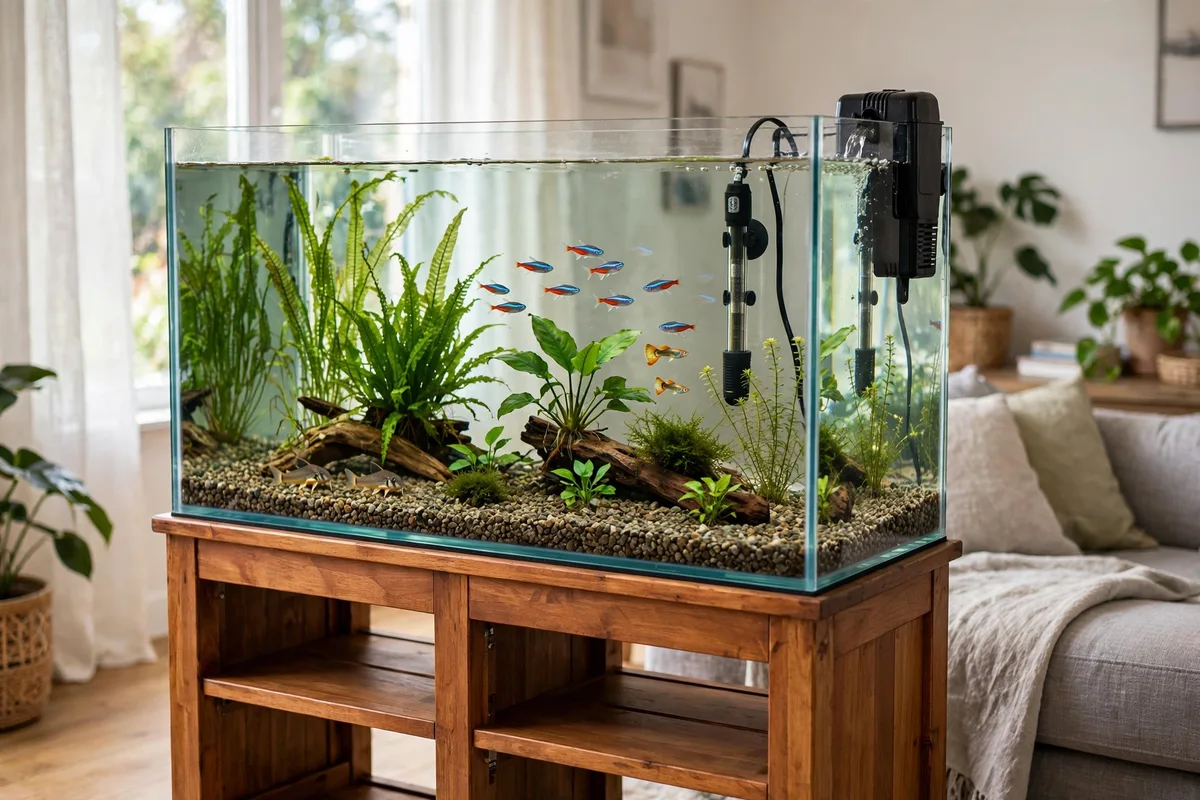
Bringing home a freshwater fish tank is exciting, but most beginners make the same costly mistake: they buy the tank and the fish on the same trip. The tank looks ready the moment the water goes in, but the water isn’t actually ready — and that’s why so many first fish don’t survive the month. This guide walks you through the setup in the right order: pick the tank, install the equipment, cycle the water, and add fish only after the water proves it’s safe. Plan on two to six weeks before your first fish moves in.
Why Most Beginner Tanks Fail in the First Month
Three things sink most first-time setups, and none of them require expensive gear to fix:
- Skipping the nitrogen cycle. Fish produce ammonia, which is toxic. A colony of beneficial bacteria in your filter converts ammonia to nitrite (also toxic), then to nitrate (tolerable at low levels). Growing that colony before fish arrive is called cycling, and it’s the single most important step in this guide.
- Starting too small. Small tanks aren’t easier — they’re harder. In five gallons of water, one uneaten meal swings the chemistry fast. In twenty gallons, the same meal barely registers. Beginners do better with a 10- to 20-gallon tank.
- Trusting “looks clean.” Crystal-clear water can still carry lethal ammonia. Only a test kit tells you the truth. Testing beats guessing every time.
Step 1: Pick the Tank Size and Location
A 20-gallon long tank is the sweet spot for beginners: forgiving water chemistry, enough room for a small community of fish, and equipment that’s easy to find at any US pet retailer. A 10-gallon works for a betta or a small school of tetras, but avoid bowls and tanks under five gallons — they’re decorative, not livable.
Find a spot before you buy anything:
- Choose a stand that can hold the weight. Water weighs about 8.5 pounds per gallon, so a filled 20-gallon tank plus equipment can top 200 pounds. Use a stand or cabinet rated for aquariums — not a bookshelf.
- Stay out of direct sunlight. Sunlight heats the water unevenly and fuels algae.
- Avoid heat vents, exterior doors, and high-traffic areas. Drafts swing temperature; vibration stresses fish.
- Stay near an outlet and a water source. You’ll run a filter, heater, and light, and you’ll carry buckets for water changes.
Make sure the surface is level — a tilted tank puts uneven pressure on the seams.
Step 2: Gather Your Equipment Before Adding Water
Buy everything before the tank gets wet, so you’re never tempted to shortcut. Your starter kit:
- The tank and a lid or hood (fish jump; water evaporates)
- A filter rated for your tank size — or larger if you’ll keep messy fish (see our guide to choosing a suitable aquarium filter)
- A heater if you’ll keep tropical fish (most popular beginner fish need 74–80°F). About 5 watts per gallon is a common rule of thumb, and adjustable beats preset
- A thermometer — the stick-on or suction-cup kind, checked against the heater
- Substrate: gravel or sand, about 1–2 inches deep
- Water conditioner that removes chlorine and chloramine from tap water
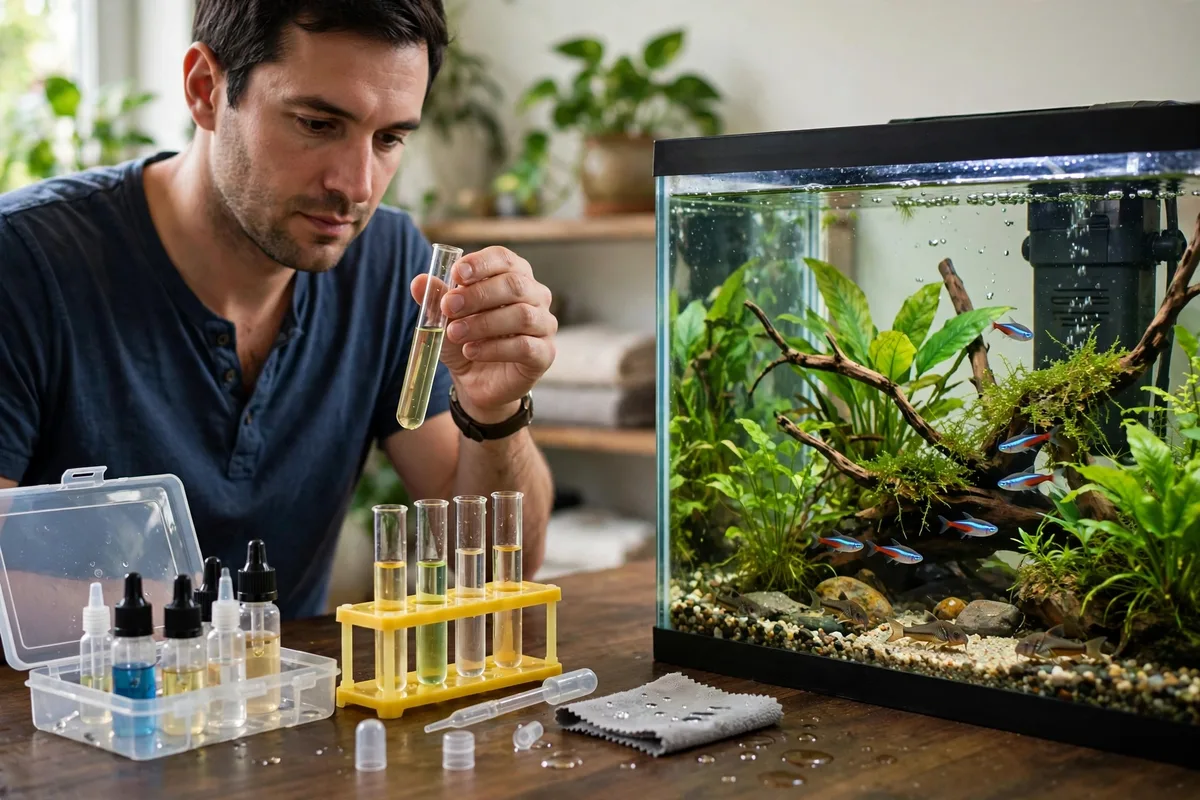
- A liquid test kit for ammonia, nitrite, nitrate, and pH (liquid kits read more reliably than paper strips)
- Decorations and plants (live plants are best — they consume some waste and give fish cover)
- A fish net and a bucket used only for the tank — never one that held soap or cleaners
Step 3: Install Substrate, Decor, and Equipment
With the tank in place, build the habitat while it’s still empty:
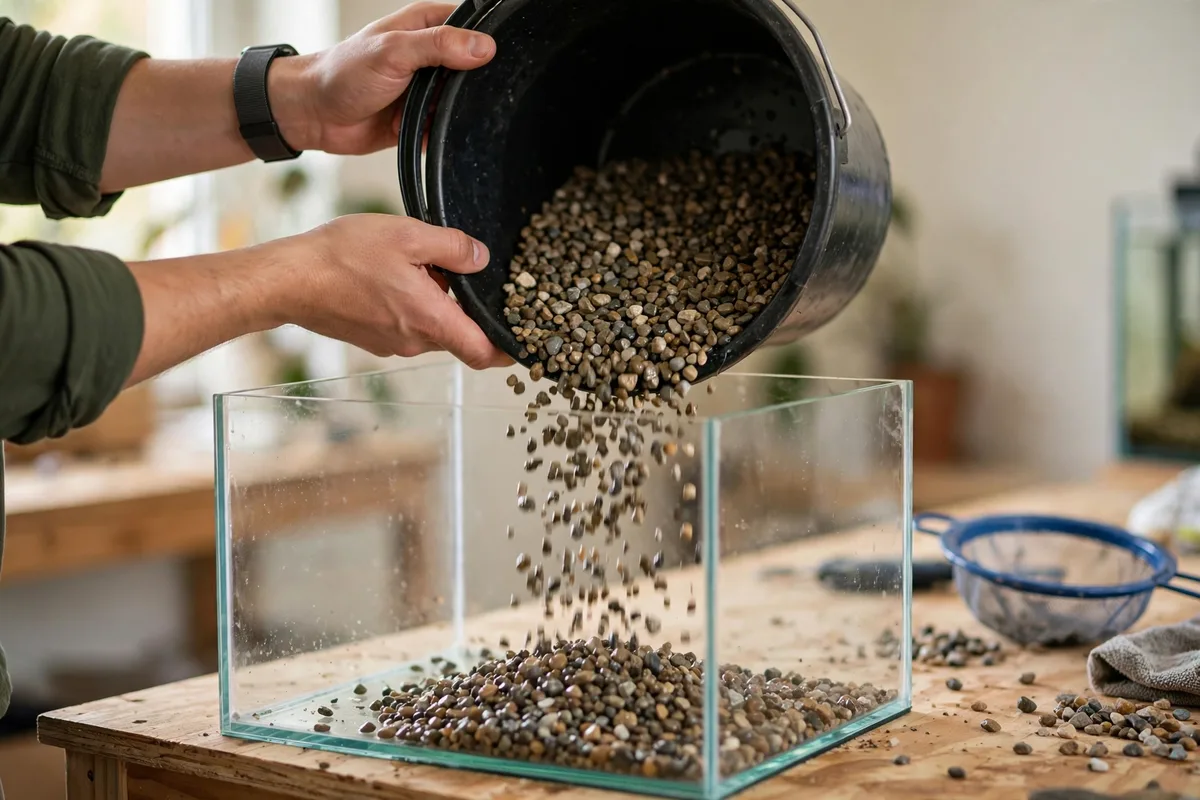
- Rinse the substrate under running tap water until the runoff is mostly clear. Never use soap — residue kills fish.
- Add the substrate about 1–2 inches deep, sloping slightly toward the front. Place large rocks and driftwood now; anything sharp should be sanded smooth.
- Fill the tank halfway with tap water, pouring over a plate or your hand so the stream doesn’t carve craters in the substrate.
- Install the filter and heater per the manufacturer’s instructions. Position the heater near water flow so heat distributes evenly.
- Fill the tank the rest of the way and add water conditioner to the full volume, following the dose on the bottle.
- Turn everything on. Run the filter and heater for at least a day before doing anything else. Watch for leaks at the seams and check that the heater is holding temperature.
Leave the tank running. What you’re waiting for is invisible, and it’s the part most people skip.
Step 4: Cycle the Tank Before Adding Fish
Cycling grows the beneficial bacteria that process fish waste. The fishless method — cycling before any fish arrive — is the kindest and most reliable way.
- Add an ammonia source. A pinch of fish food every couple of days works; it rots and releases ammonia. Some hobbyists use bottled pure ammonia (no scents, no surfactants) dosed to a couple of parts per million.
- Test every two to three days with your liquid kit. First you’ll see ammonia rise. Then nitrite rises as a second bacteria colony converts ammonia. Then nitrate appears as a third conversion finishes the job.
- Wait for zeros. The cycle is complete when ammonia and nitrite both read zero 24 hours after adding food, with some nitrate present. This usually takes two to six weeks.
- Do a partial water change at the end to bring nitrate down.
Shortcuts exist — used filter media or bottled bacteria products can speed things up — but verify with your test kit. Nothing is cycled until the tests say so.
Step 5: Add Your First Fish Slowly
Once the cycle is confirmed, add fish in small groups — three to four at a time — waiting a week or two between additions. This keeps the bacteria colony from being overwhelmed.
Acclimate properly. Float the sealed bag in the tank for 15–20 minutes to equalize temperature, then add small amounts of tank water to the bag over another 20 minutes before netting the fish into the tank. Never pour store water into your aquarium.
Good beginner fish:
- Betta (single male in a 5+ gallon tank — colorful, hardy, but not a community fish)
- Neon tetras or ember tetras (peaceful schooling fish; buy at least 8–10)
- Guppy (hardy and lively; expect babies if you keep both sexes)
- Zebra danios (active, tolerant of cooler water)
- Corydoras catfish (gentle bottom-dwellers; keep in groups of 6+)
Skip common goldfish for small tanks. They grow to a foot long and need 40+ gallons as adults.
Step 6: Start Your Weekly Maintenance Rhythm
A healthy tank runs on routine, not reactions:
- Change 20–25% of the water weekly using conditioner-treated water at roughly the same temperature.
- Vacuum the substrate lightly to pull out settled waste — skip the areas around plant roots.
- Feed small amounts once or twice daily, only what the fish finish in about two minutes. Uneaten food is the number-one source of water problems. Store the rest in a sealed, cool spot; our tips on keeping pet food stored properly apply to fish food too.
- Test the water monthly (weekly for the first two months) — trends beat single readings.
- Rinse filter media in old tank water when it looks clogged — never replace all the biological media at once.
Setup Variations by Tank Type
Single betta tank (5–10 gallons)
One male betta, a gentle filter (sponge or baffled hang-on-back — strong current exhausts them), a heater, silk or live plants, and a lid. No tankmates except maybe a snail.
Small tropical community (20 gallons)
A school of 10 tetras, 6 corydoras, and a small centerpiece fish like a dwarf gourami. Live plants, a hang-on-back filter, and a heater.
Coldwater goldfish (40+ gallons)
Fancy goldfish only — common goldfish belong in ponds. Oversized filtration (they’re messy), no heater needed, and sand or bare bottom instead of gravel (goldfish can choke on gravel).
Troubleshooting Common Problems
| Problem | Likely cause | Fix |
|---|---|---|
| Cloudy water in week one | Bacterial bloom during cycling | Wait; keep feeding ammonia lightly, don’t add fish |
| Ammonia won’t drop | Cycle stalled or overstocked | Test again, reduce feeding, partial water change, wait |
| Fish gasping at the surface | Low oxygen or ammonia spike | Test water immediately, do a water change, check filter flow |
| Algae taking over | Too much light or nutrients | Cut light to 6–8 hours/day, reduce feeding, more frequent water changes |
| Heater not holding temp | Undersized heater or draft | Check wattage (about 5W/gal), move away from vents |
| Fish hiding constantly | Stress from water, bullying, or no cover | Test water, add plants/hiding spots, check tankmates |
If fish show persistent clamped fins, spots, or lethargy, review water parameters first — then see our guide on recognizing when a pet needs veterinary care.
Frequently Asked Questions
How long should I wait before adding fish?
Two to six weeks of fishless cycling, confirmed by a test kit reading zero ammonia and zero nitrite. The calendar alone doesn’t count — only the test results do.
Can I set up a tank and add fish the same day?
Same-day stocking is the number-one cause of beginner fish loss. A cycled tank is always safer — used filter media from a healthy established tank can speed things up, but still verify with tests.
Do I need a heater?
Tropical fish (tetras, guppies, bettas, danios) need steady 74–80°F water, so yes in most US homes. Goldfish and white cloud minnows are coldwater species and don’t.
How many fish can my tank hold?
Stocking depends on adult size, species temperament, and filtration — not just gallons. A common starting point is light stocking (a small school in a 20-gallon), then add slowly while watching water tests. Overstocking is easier to do and harder to fix than understocking.
Why does my water smell?
A healthy aquarium smells like clean pond water, nothing sharp. A rotten-egg or strong fishy smell usually means rotting food, dead plant matter, or an ammonia problem. Test the water, vacuum the substrate, and remove the source.
Patience Now, Fish Later
A freshwater tank rewards the unglamorous work: rinsing gravel, dosing conditioner, reading test results, and waiting while bacteria do their invisible job. Get the cycle right and the rest becomes easy maintenance. Set it up properly this once, and you’ll have an aquarium that thrives for years.


Pingback: Choosing an Aquarium Filter: Types, Sizing & What to Avoid